
Here’s the story.
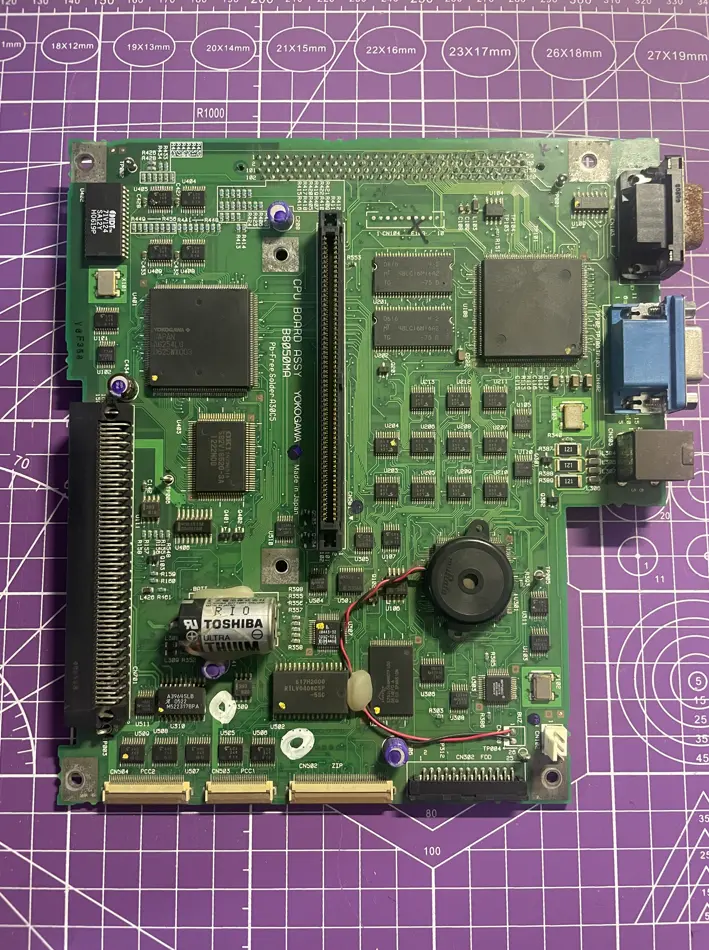
I came across this machine at a scrapyard. It was in pretty rough shape, with a damaged casing and an absolutely terrible exterior condition. I picked it up and took a closer look. The internal circuit boards seemed to be undamaged. For those of us who work with electronics, as long as the boards are intact, the machine can still work. So I decided to take a gamble and bring it home.
When I powered it on at home, I immediately heard an inductor whine. Something clearly wasn’t right. The original screen was already broken, and even after connecting a VGA monitor, I couldn’t get the machine to display anything. The inductor whine continued as well.
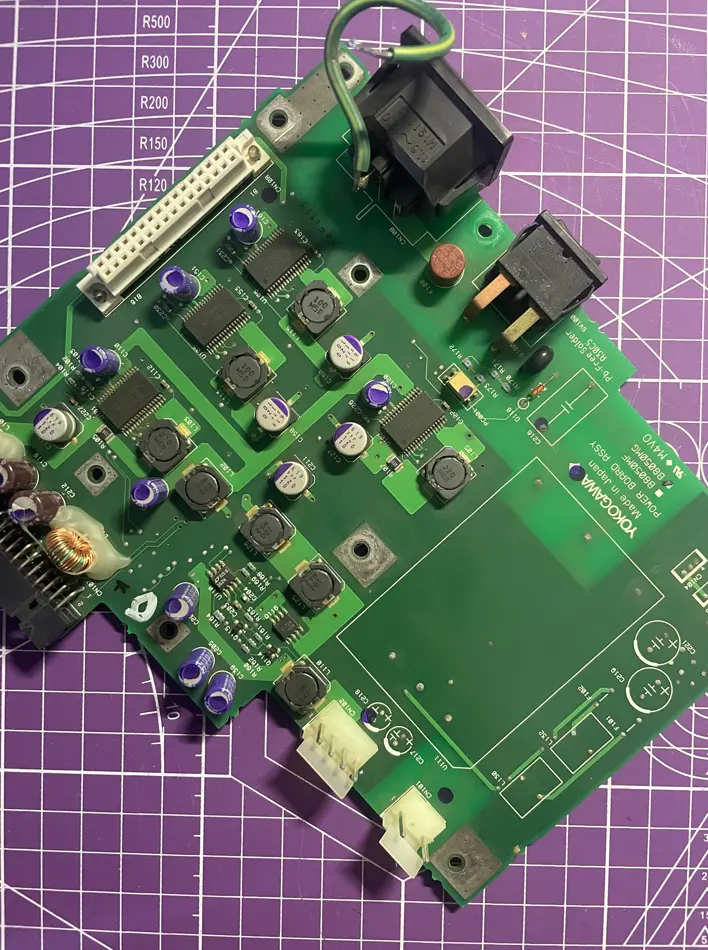
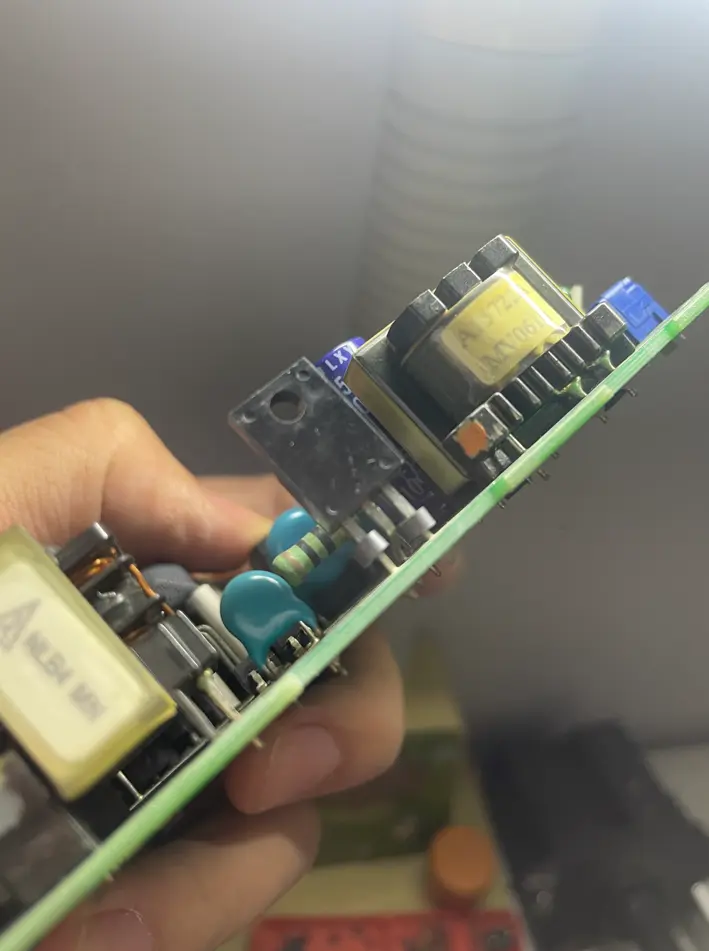
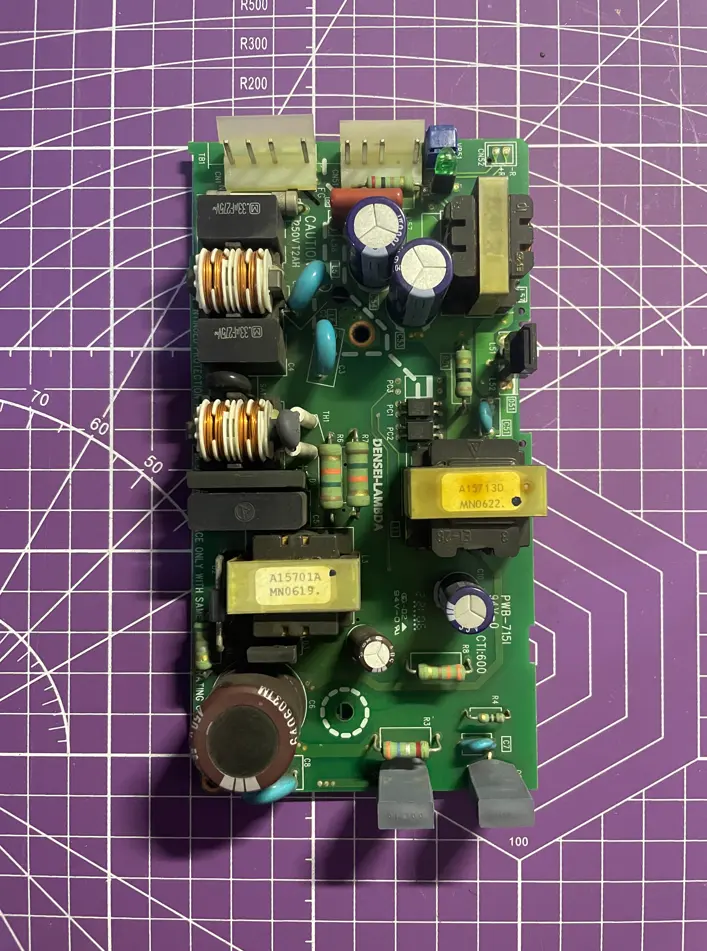
So I decided to completely disassemble the machine and restore it from top to bottom. After opening up the internal switching power supply, I found that one of the capacitors had blown. I replaced the faulty capacitor.
Then I suddenly noticed something strange. When I shook the board, I could hear something rattling around, like tiny beads hitting each other. But all the components on the circuit board were soldered in place. Capacitors, resistors, and other components shouldn’t make that kind of noise. At first, I suspected something was damaged inside the transformer. Fortunately, that wasn’t the case. It turned out that some of the leads on the through-hole components had small ferrite beads slipped over them. Haha!
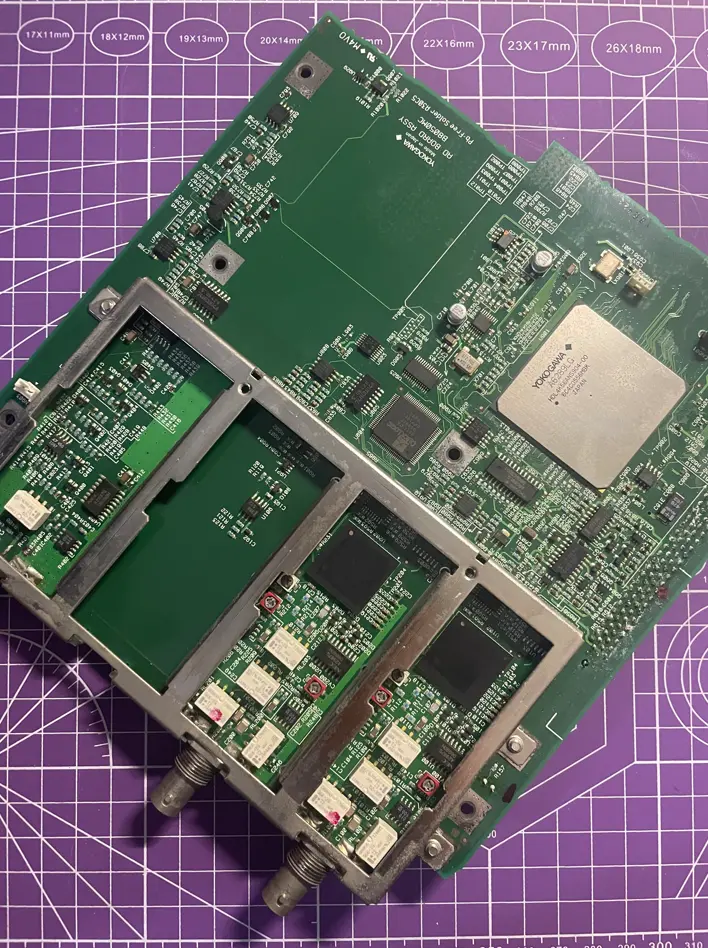
After replacing the capacitor, I powered on the machine again and connected a monitor. This time, the machine showed signs of life, but the screen would occasionally display garbled images. I suspected a poor connection at the VGA port because the original connector was heavily corroded. So I removed the old connector, soldered on a brand-new VGA port, and powered it on again. Finally, the display was working properly!
But then another problem came up: the machine would randomly restart from time to time after booting.
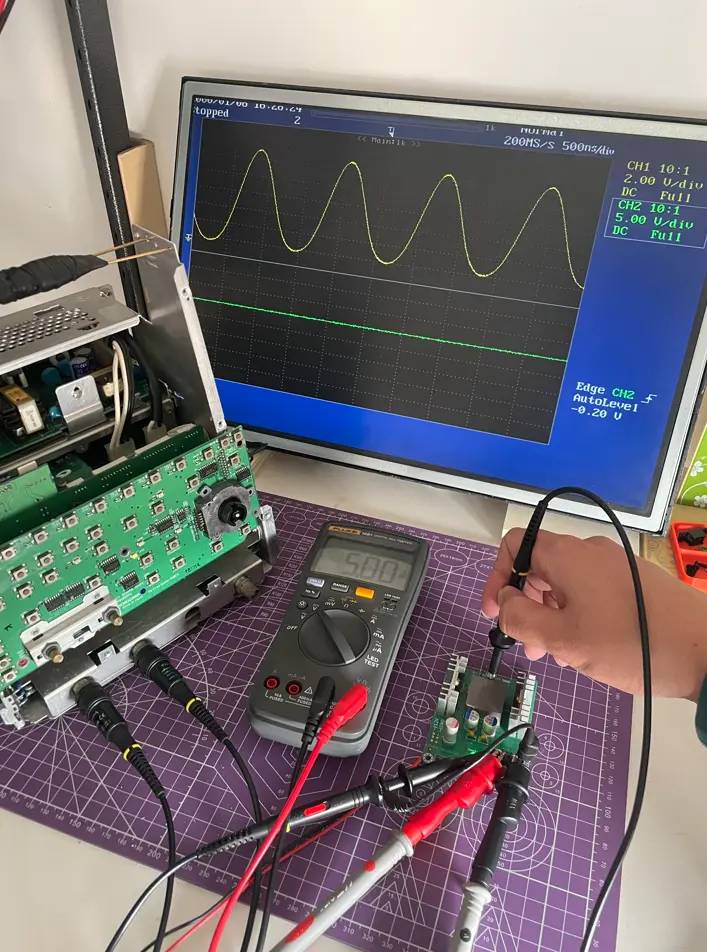
After some troubleshooting, I eventually traced the problem to a poor connection in the original latching power switch. Using the continuity mode on my multimeter, I found that the switch would intermittently lose contact when it was supposed to be conducting steadily. Even a slight touch or movement of the switch lever could cause the machine to restart.
I didn’t have an identical replacement latching switch on hand, so I temporarily fitted a single-pole double-throw (SPDT) switch as a substitute.
After fixing the switch, I ran into another problem: the machine got stuck on the Logo screen and simply refused to enter the capture interface.
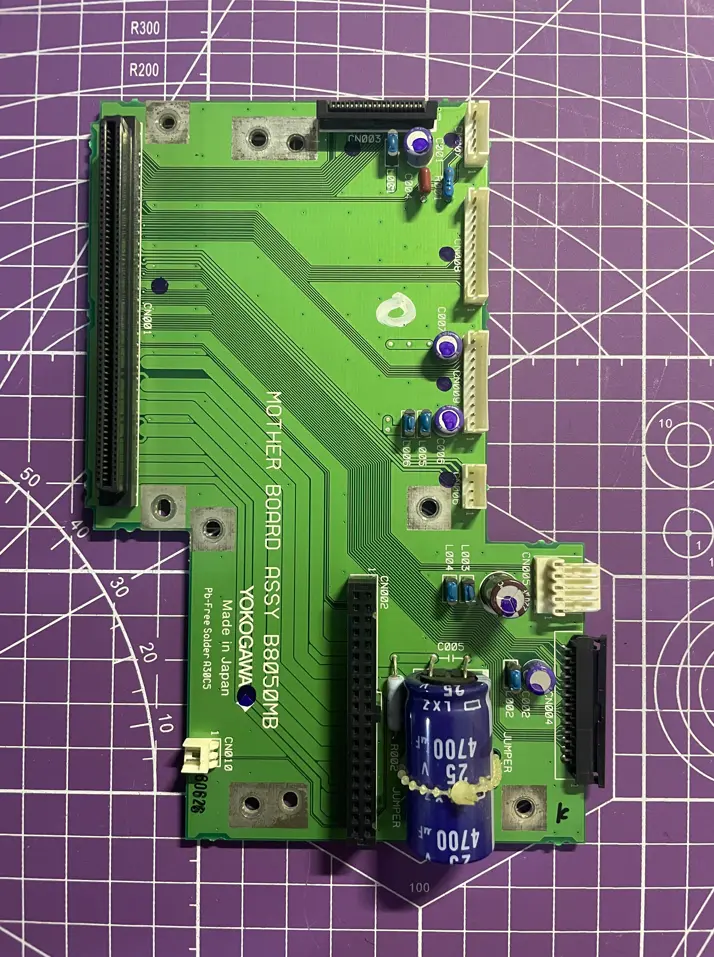
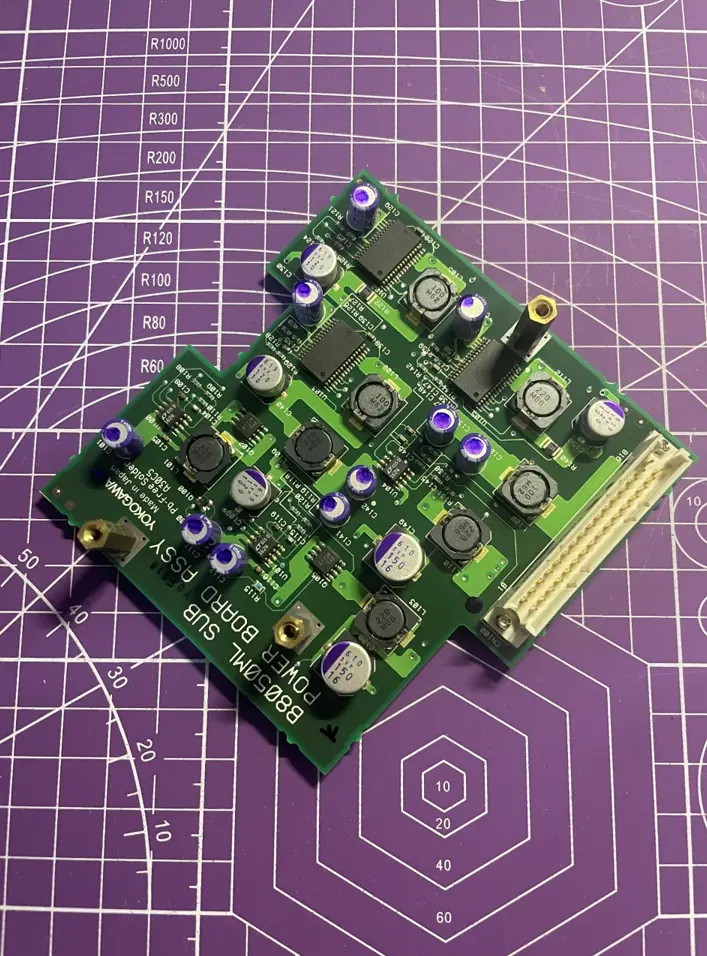
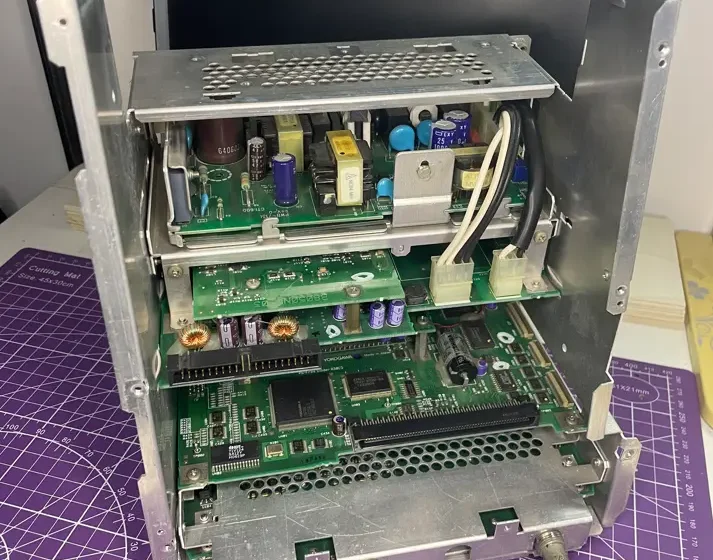
I repeatedly checked the circuit boards and traced all the wiring until I finally found the cause. One of the power distribution boards was originally secured to a sheet-metal part with screws, relying on the sheet metal for its ground connection. However, the sheet-metal part itself was damaged and could no longer be fitted back into place, while its corresponding plastic mounting brackets had completely crumbled due to aging. During disassembly, the brittle plastic mounting brackets broke apart under pressure. Combined with the damage to the sheet-metal part, I could no longer reinstall it, leaving the ground connection at that point completely disconnected.
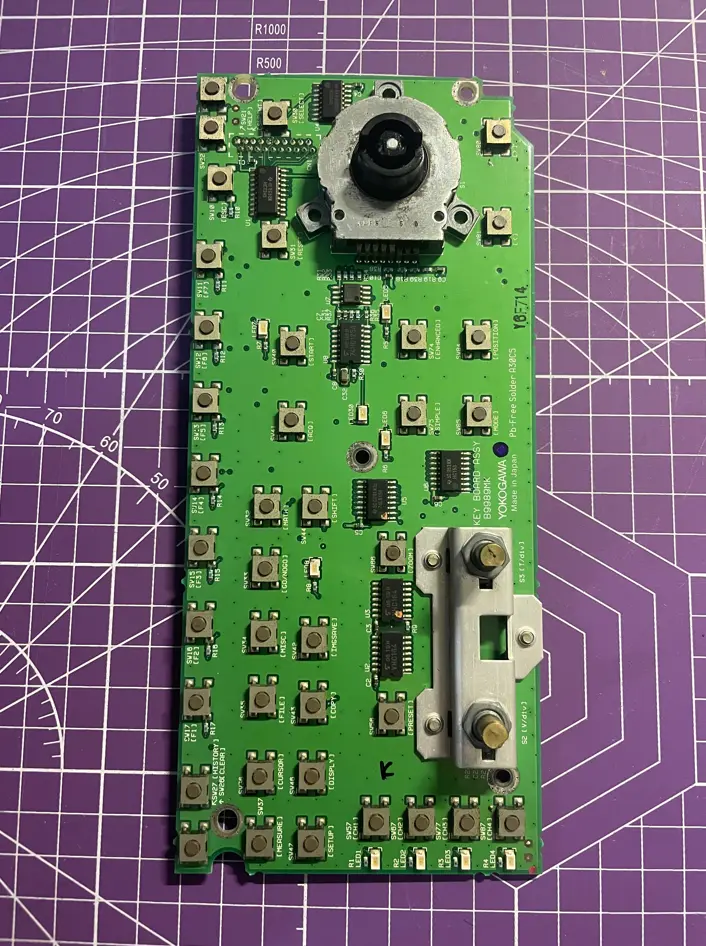
I added separate jumper wires between the button board and the power distribution board, then crimped an OT ring terminal onto the wire and securely fastened it to the sheet-metal part, restoring the missing ground connection.
Luckily, after doing this, the machine finally ran properly!
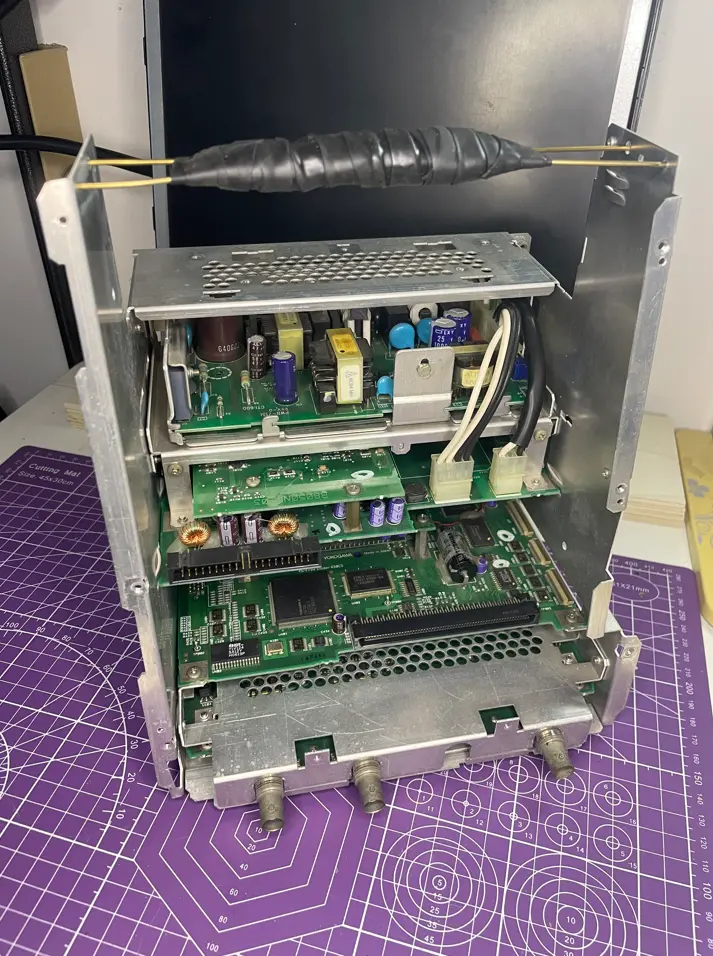
After finishing all the repairs, I made a handle using a thick piece of copper wire and some electrical tape. Haha!
Another new member has joined my workbench! 🙂