
The PCBs Have Arrived!
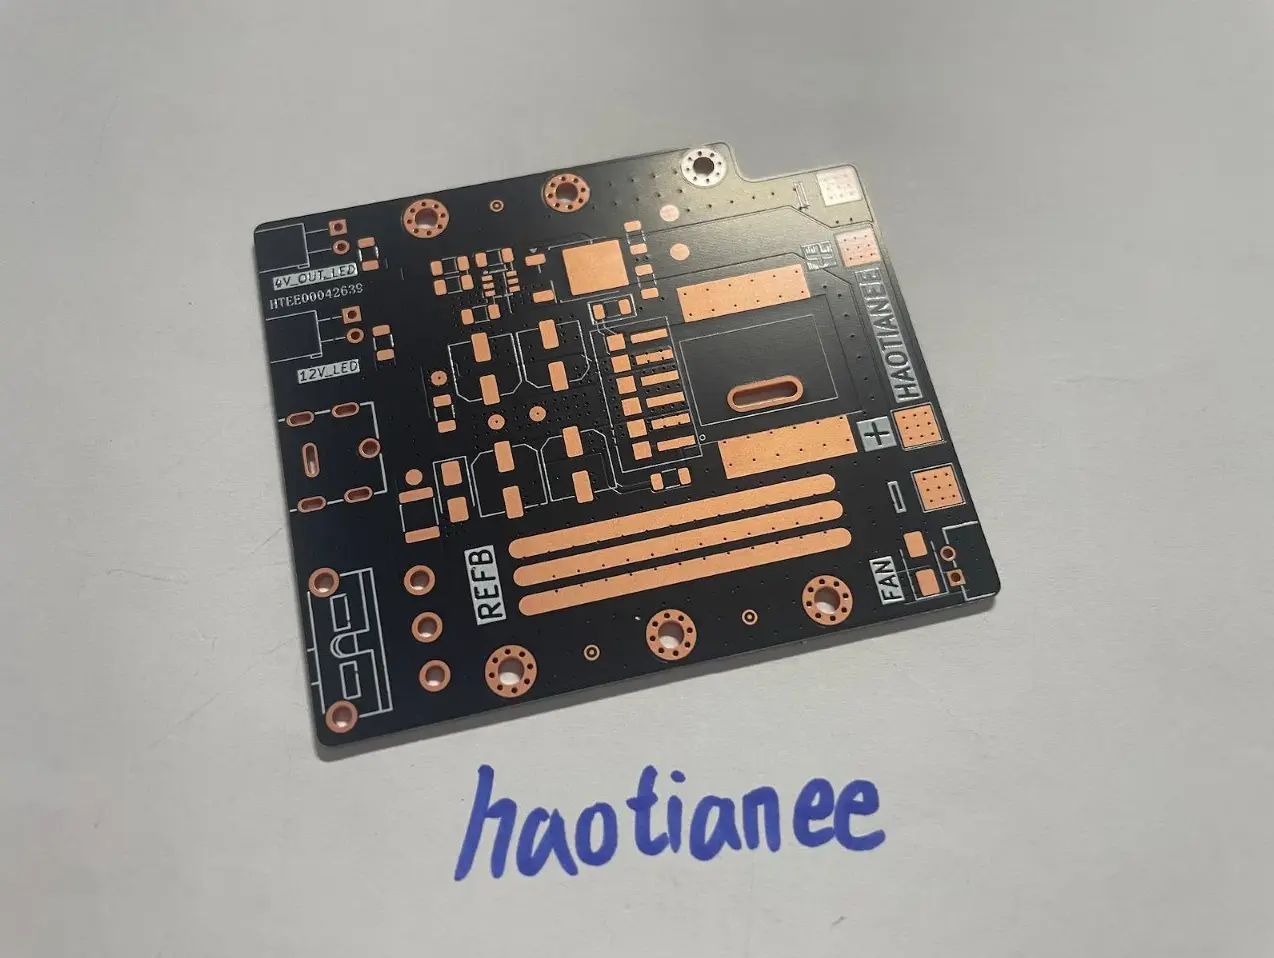
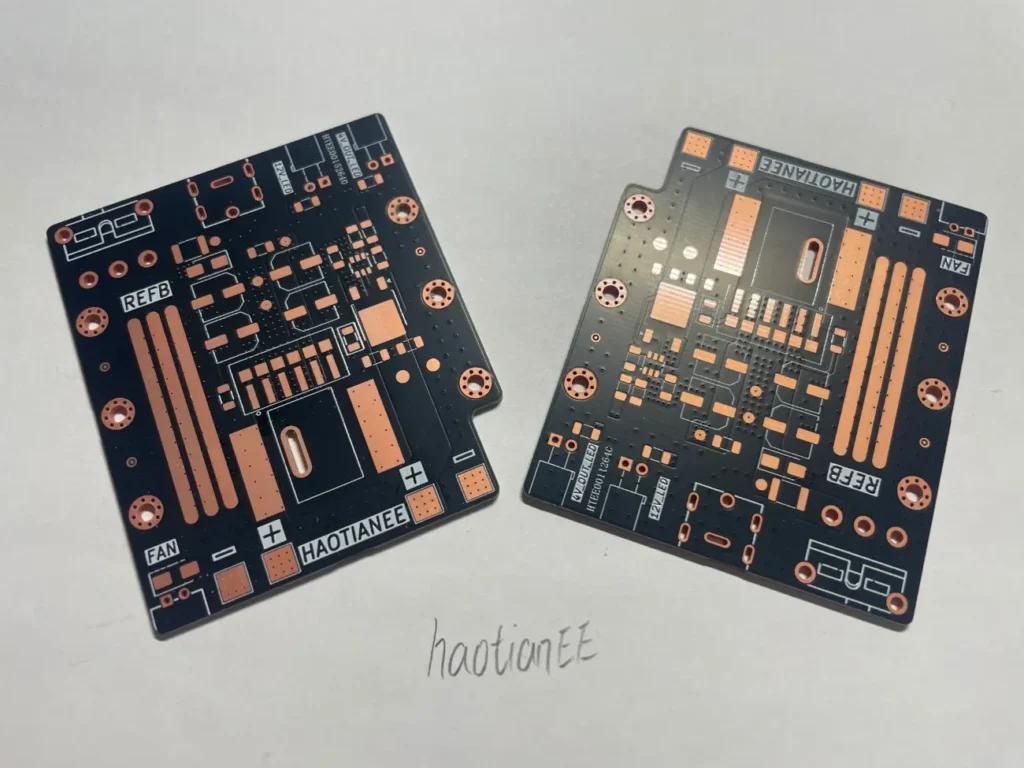
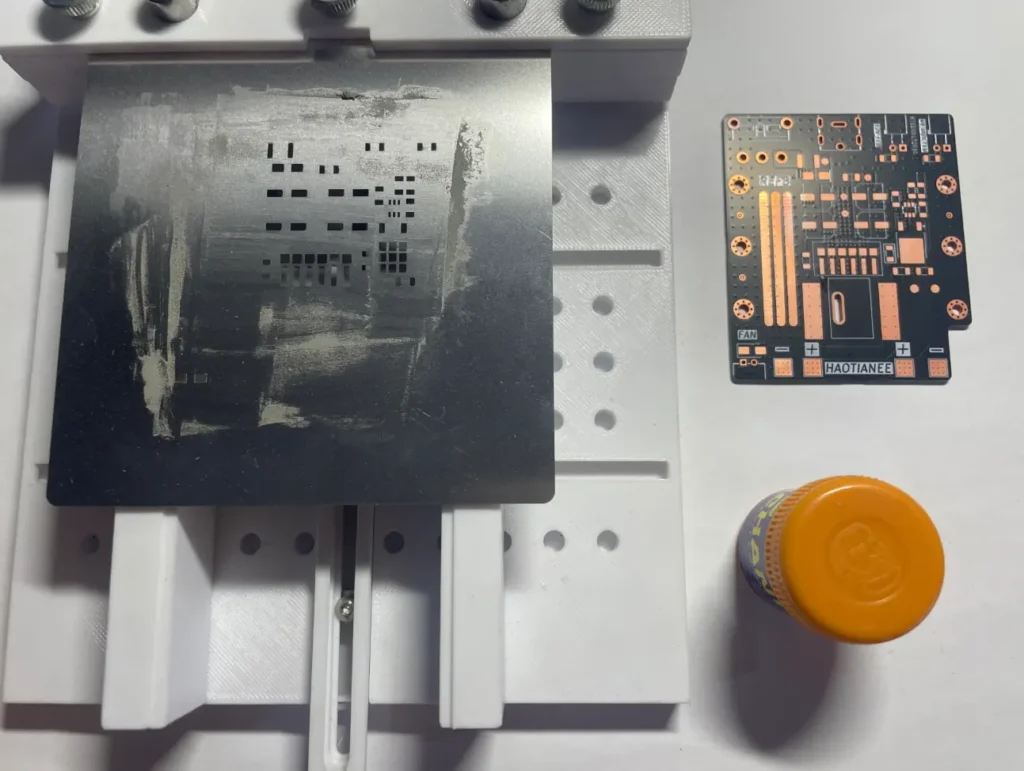
After several days of waiting, the PCBs for my 8Gen2BOX power modification project have finally arrived! They feature a black solder mask with an OSP surface finish, which looks pretty nice.
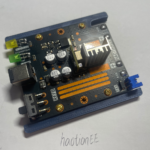
The electronic components have arrived too, so it’s time to get soldering!
Manual SMT Assembly
I prepared a fixture to hold the PCB in place and had a custom stencil made to make solder paste application easier.
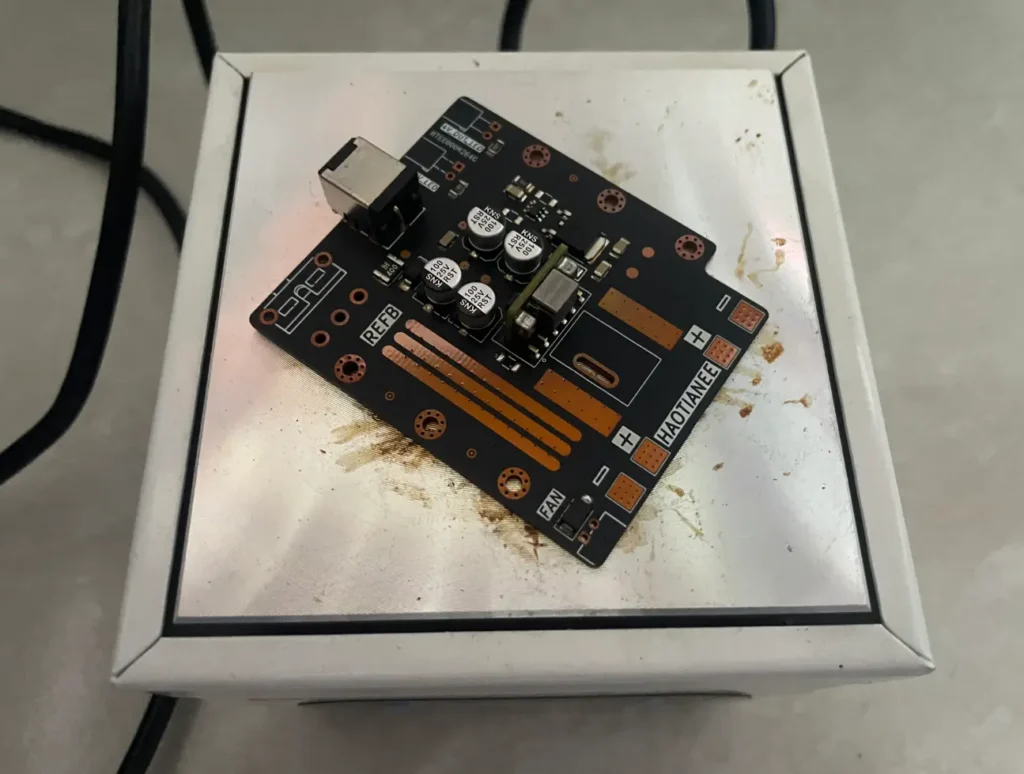
After applying the solder paste, I placed the components one by one using tweezers. Then, I put the PCB on a heating plate and waited for the solder to melt.
Once everything had cooled down, the board was ready for testing.
Power-On Testing
The multimeter and electronic load tester showed normal readings, and the DC-DC converter and ideal-diode circuit appeared to be working properly.
Unfortunately, I got a little too excited and forgot to take any photos of the testing process. I’ll try to add some measurements in a future update!
Next, I installed the threaded inserts in the enclosure and mounted the PCB to check the fit. Fortunately, everything lined up nicely.
It Boots!
Finally, I connected the Snapdragon 8 Gen 2 motherboard, HDMI display, and other peripherals.
I plugged in the power and switched it on…
It booted up, and the display lit up!
Another small milestone for the HAOTIANEE 8Gen2BOX project! Next up: further testing and a few more improvements.